Web development, as scary as it sounds, is pretty easy to learn. With just your computer's text editor and a little bit of work, you too can build your own site. The use of the term "Web development" on this page is pretty loose. Mostly because I don't want to type "HTML, CSS and JavaScript" 20 different times. With the exception of javascript, all the languages are required to build a page. HTML formats the content and CSS customizes it. Below are some webpages missing those elements.
Most pages don't need javascript, as proven below.
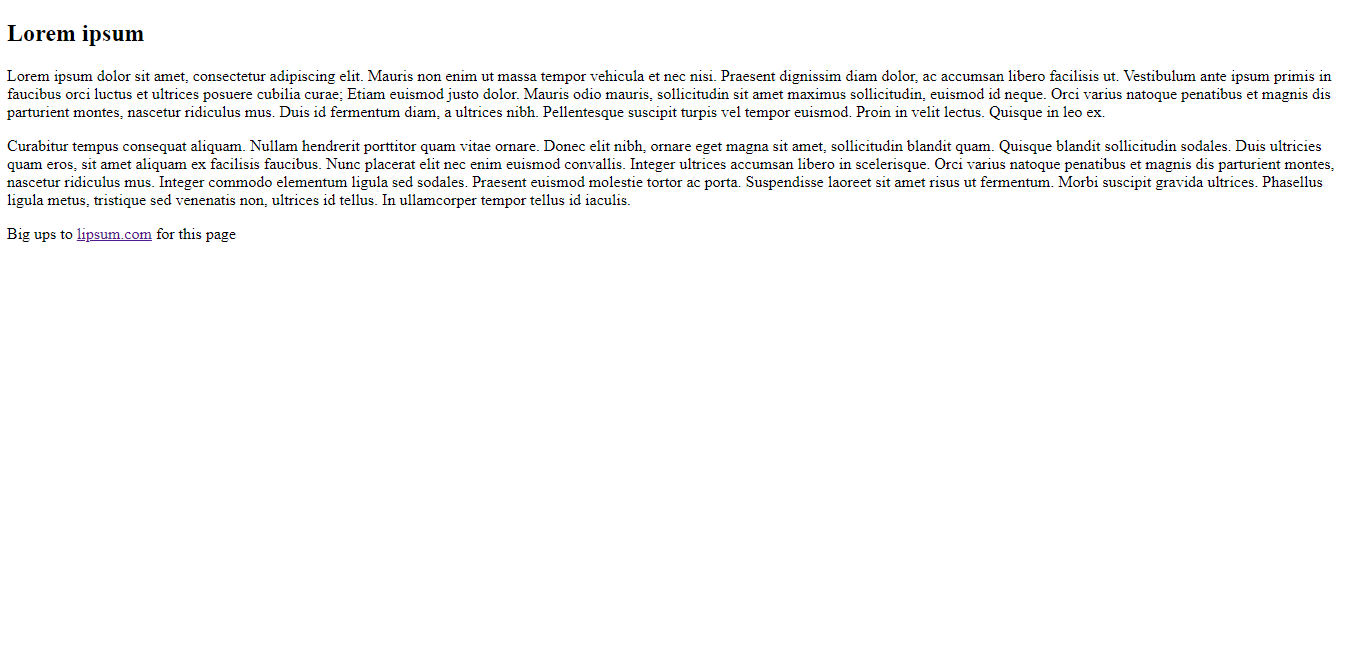
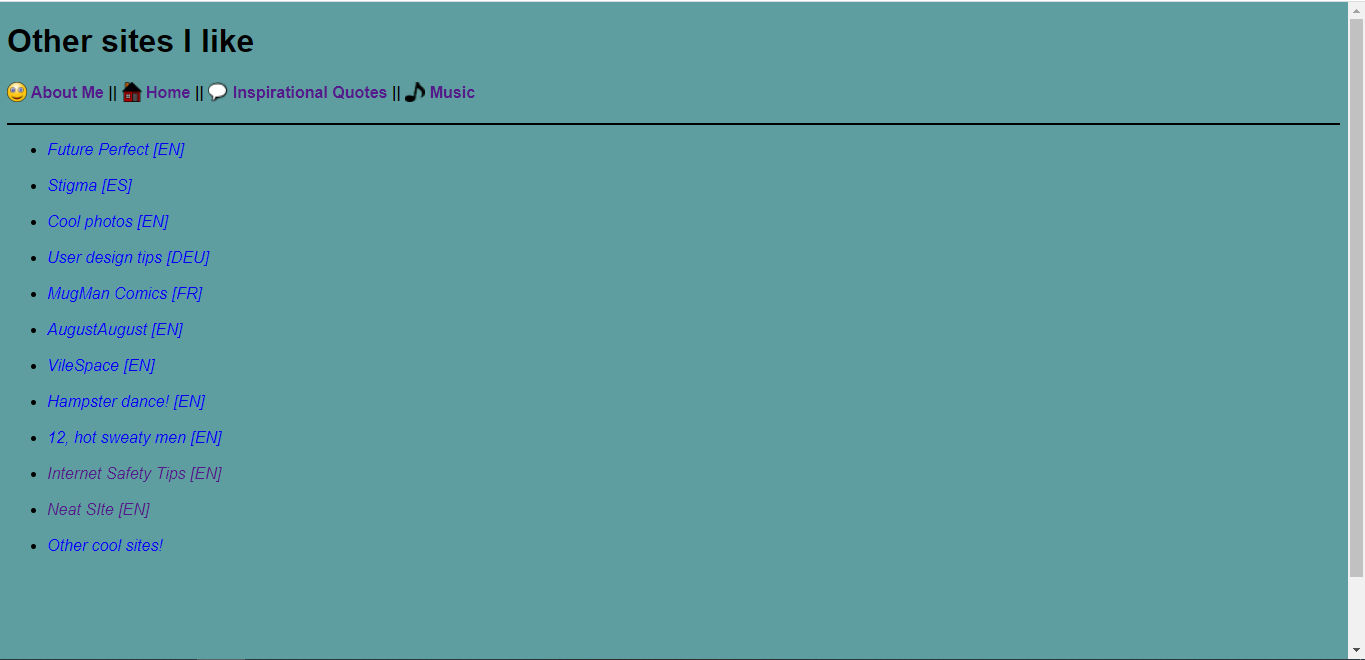
| Site without HTML | Site without CSS | Site without Javascript |
|
|
|
|
What is important though, is understanding tags. Some tags are more important than others, but they are still necessary. The first three tags that will be covered help the page display correctly in most browsers. <!doctype>, < html> and <body>. Tags and attributes almost always have end with something that looks like </[tag name] >. There are a few exceptions though. <!DOCTYPE html > is one of those. It declares what kind of file it is and should always be first. The tags that follow are <html> and body. The body is where you put the rest of the attributes and text. When all is said and done, you should have something that looks like this.
    <!DOCTYPE html>

      <html>

      <body>


      </body>

    </html>
Finally time to add content to the page. I present to you four basic tags to add content. Almost everything after this point should be put under <body> and all have end tags.
Headings are important. They break up text, organize sections of a page and denote the importance of something. The smaller the number, the bigger the text. <h1> being the largest and <h6> being the smallest.
<p> is a simple way to put in text, though it does have it's quirks. For one thing, it doesn't display exactly what's typed in. If the text inputted is:
 According to all known laws of aviation, there is no way a bee should be able to fly.

Its wings are too small to get its fat little body off the ground.

The bee, of course, flies anyway because bees don't care what humans think is impossible.
What comes out instead, is:
According to all known laws of aviation, there is no way a bee should be able to fly.
Its wings are too small to get its fat little body off the ground.
The bee, of course, flies anyway because bees don't care what humans think is impossible.
There is a workaround though. <pre> is handy for that exact reason.
The href in <a href=""> stands for Hypertext REFerence. The link is put between the quotes. Between it and the end tag </a>, there is also the ability to change the name of the link. Something like Cool cat video!!1!, for example.
<img src=""> operates in a similar way. But instead of hyperlinks, its file directories. If there aren't any folders, just type in the file's name. This can also be used to display gifs. Paying extra special attention to the extension. If it is in a folder, the folder's name is followed by / and then the images name. To pull an example from my site:
<img src="assets/monke.gif">
With the content of your site fully filled out, its just about ready for publishing. However, it isnt much to look at. Enter Cascading Style Sheets (often spelled as CSS). With the use of a dedicated style.css document, updating the look of all of your webpages is made much easier. What you'll probably use it for most often, is modifying fonts or background colors. It still has some new, extra bits to it, but its pretty easy to get the hang of. Say, for example, you're really into the green phospher of old computer monitors. There are two ways to do it, but this is the easier way. open up style.css and type :
body{
	background-color:black;
	font-family: Lucida Console;
	color: lightgreen;
}
But what if you're not satisfied with that shade of green, or use it on lots of pages without changing everything. To get the color that's just right, you can enter hex color codes. Careful to include the # before the string. Second things second, the word before the first backet is the affected tag. So in this case, every page would be changed to that spec. To attach those Attributes to an ID, simply put a . (period) before a word that isn't a tag. In this specific case, I'll it retro. So the updated version looks something like this:
.retro	{
	background-color: black;
	font-family: Lucida Console;
	color: #01CA01;
}
However, this still isn't usable. The last part that's needed is the class modifier. the class modifier. class essentially retrieves the pages visual modifiers. It can be tacked onto most text tags. In between quotes type the name of the class. Put into an HTML doc, it should look something like this.
<style>
.retro	{
	background-color: black;
	font-family: Lucida Console;
	color: #01CA01;
}

</style>
<p class="retro">
Hello world!
</p>
One of the last things i must impress upon you, is the importance of readability. Im all for kooky color combinations and breaking standard conventions, but its gotta be readable. People are going to get migraines trying to read yellow text on top of a bright pink background. I would make the text black as well as make the
background of the paragraph (<p>) white. If you really want to get spicy, you can round out the border's withborder-radius:5 px.
So yeah. The bottomline, is get creative and experiment within reason. You can only improve through trial and error. If you want to learn more, w3schools has a ton more info (and probably teaches it better).